After seeing an image taken with a Galileoscope posted on the Astronomy Forum, I decided to order one to play around with it myself, and to evaluate its usefulness for astrophotography. However, it turned out to be difficult to obtain one at a good price in Europe. Only a few sites had it in stock, and the cost including shipping would have been around €70 ($100).
Originally introduced as a $15 telescope for the international year of astronomy 2009, it is now sold at the Galileoscope website itself in packs of six units for $150, i.e. $30 apiece. This seemed to be the most cost-effective solution, even with shipping costs of $140 added on top. The delivery arrived last week so I am now the happy owner of 7 telescopes. Of course, I neglected to consider customs for importing from the United States – another €45 ($60).
Opening the first kit revealed that there was more assembly involved than I had expected: A total of 31 parts form a motoric challenge that needs to be addressed prior to first use. However, assembly requires no tools and the provided instructions were clear enough. In fact, building the scope is an interesting and enjoyable experience, and demonstrates that a refractor really is just an empty tube with bits of glass at the end.

The first completed telescope
I tried the scope on terrestial objects first and later on Saturn. The first thing I noticed is that is really hard to keep anything in the field of view without a mount. And it is next to impossible while focussing the scope, which in turn makes it hard to achieve good focus. It is therefore advisable to practise while it is still light (but well away from the Sun!) when any direction will at least show you something.
The Galileoscope is a 50mm refractor with a focal length of 500mm. Like my Celestron, it is therefore an f/10 scope. A 20 mm eye piece (with plastic lenses but acceptable quality) is provided, this yields 25x magnification and a field of view of about 1.5°. Also provided is a dual use secondary lens that can be configured as a 2 x barlow (yielding 50x at 0.75°) or as a Galilean eyepiece (upright image but almost no field of view). Using the barlow I was just able to make out the rings of Saturn despite the planet erratically jumping through my hand-held field of view.
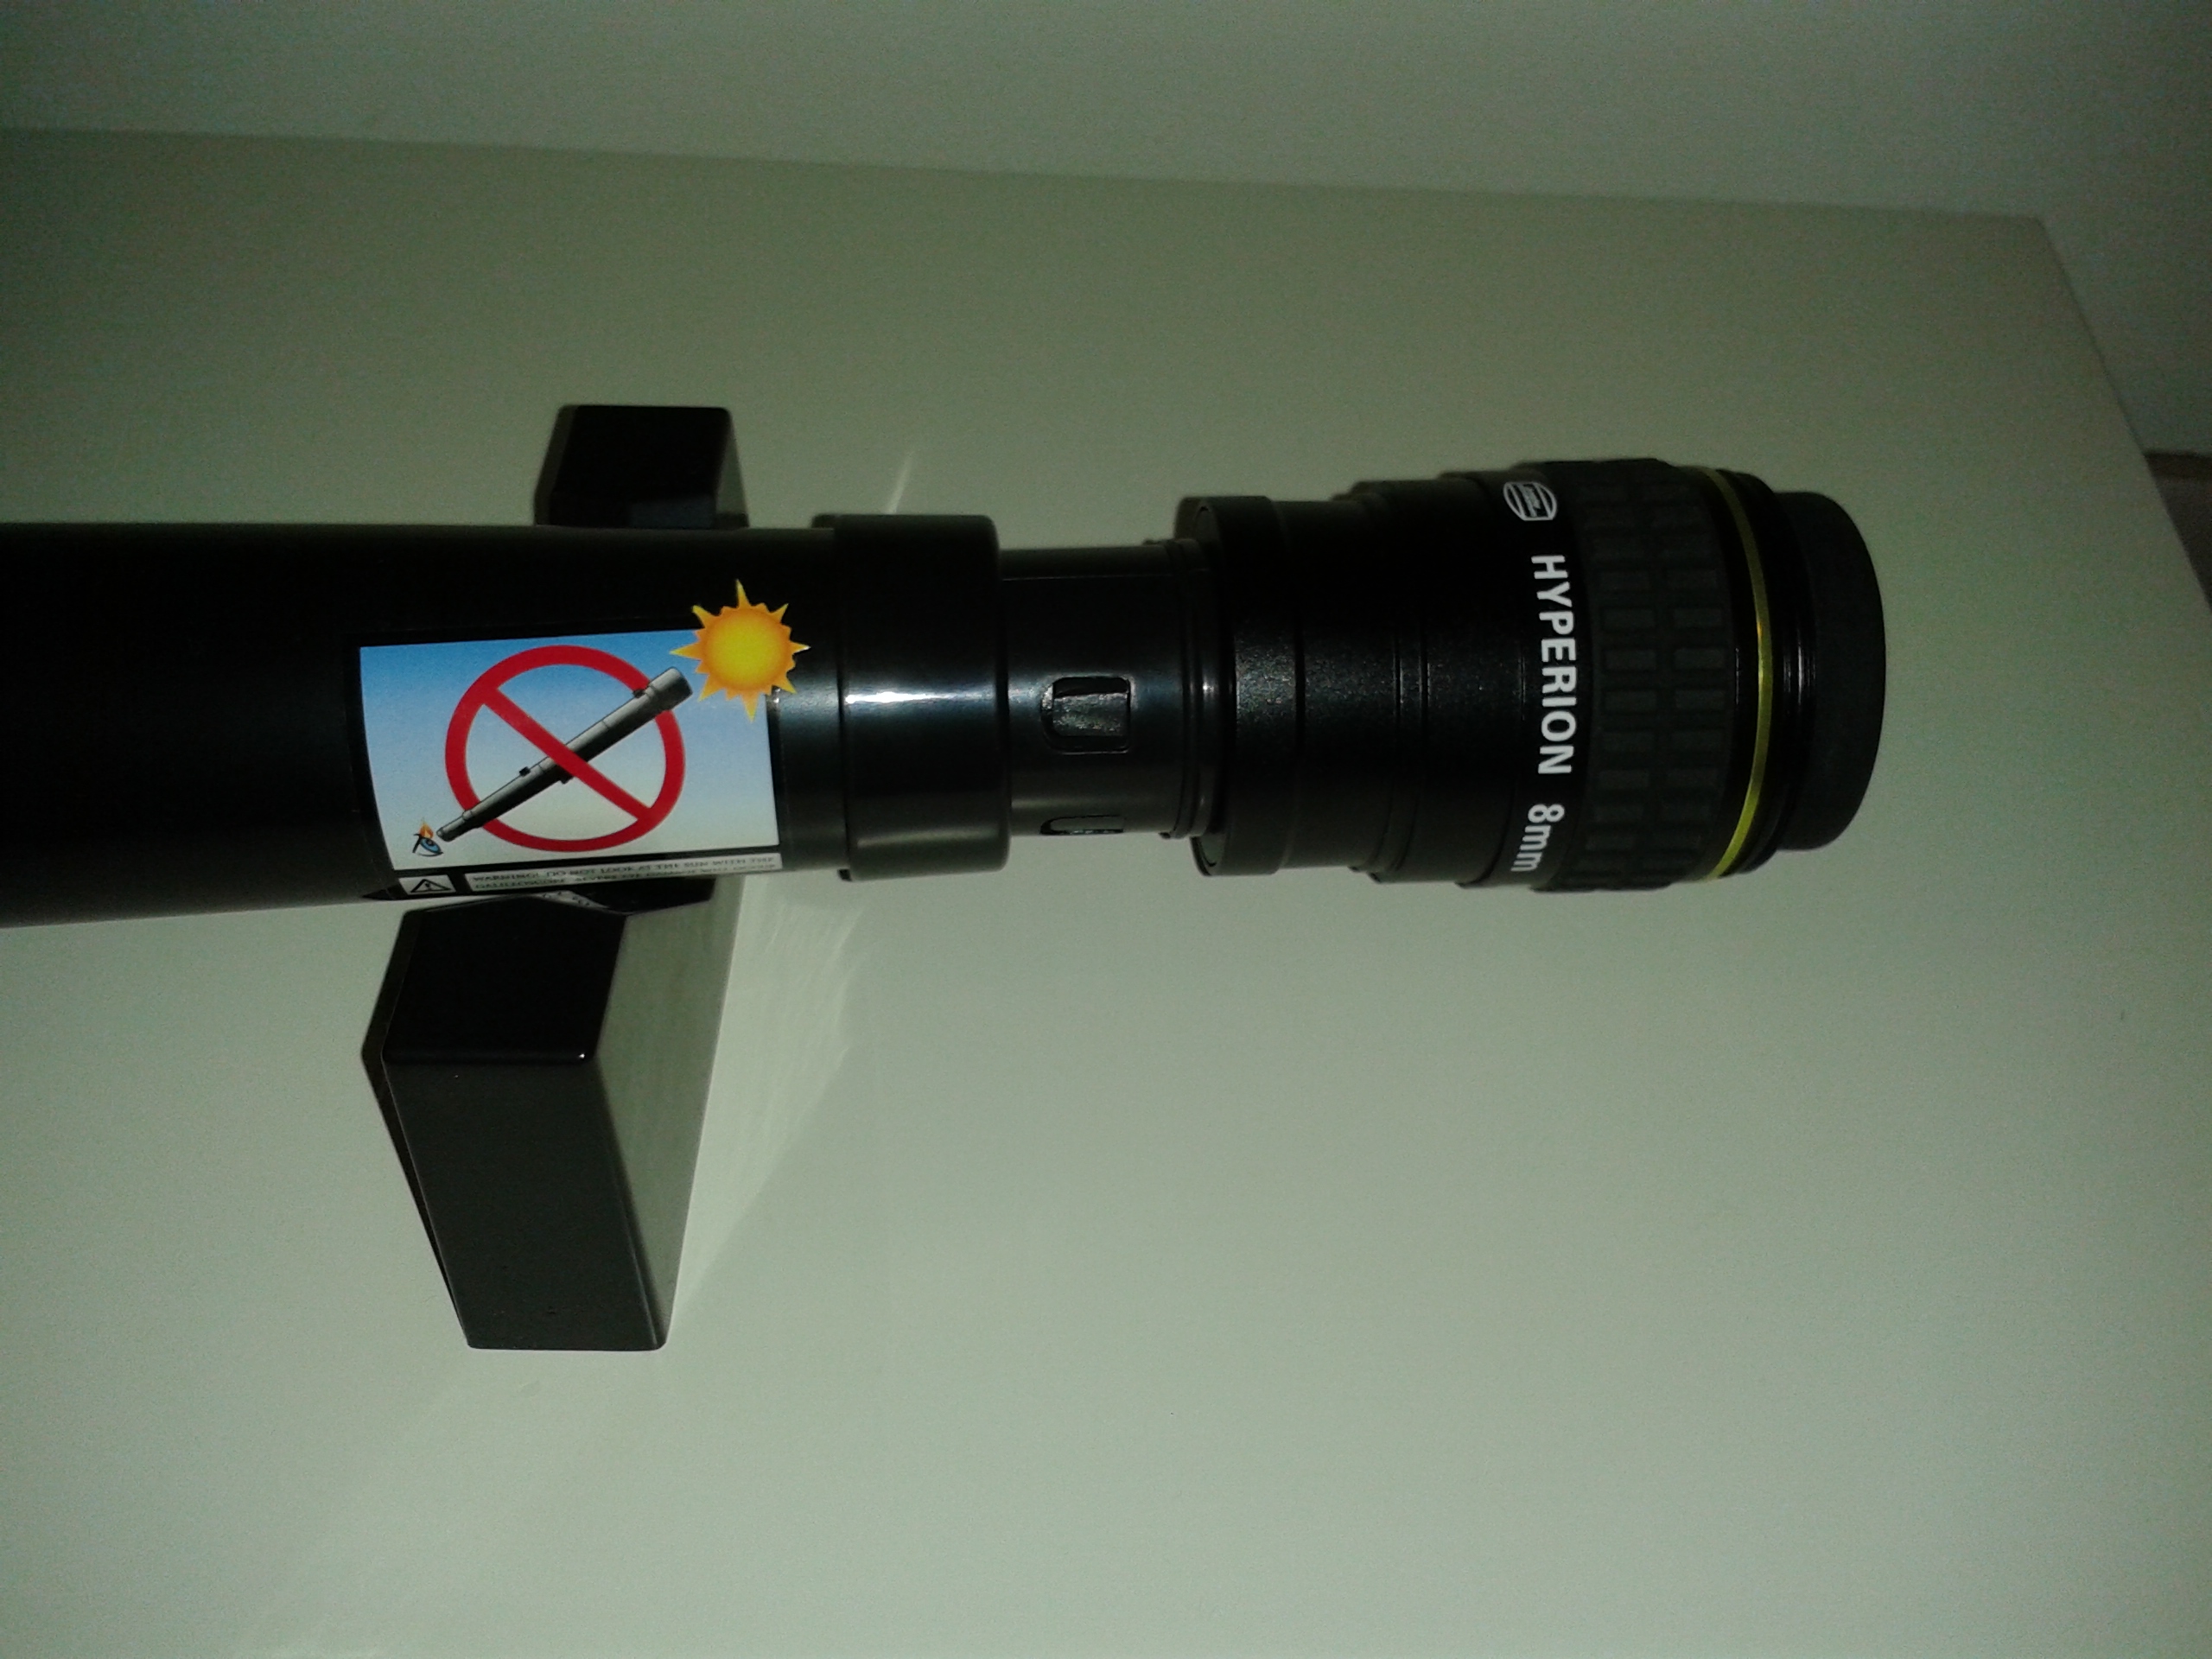
However, the real feature that makes this little scope more interesting than its cheap department store counterparts is that it comes with a standard 1.25″ barrel. It is therefore possible to connect all the accessories you already have or plan to splurge on. For example, below is the Galileoscope with an 8mm Hyperion wide-field eyepiece. It gives a very usable 60x magnification with a true field of view of about 1.1°. A small drawback is that the barrel does not have a thumbscrew but relies on friction from plastic ridges alone, which does not feel safe for a heavy and expensive eyepiece.

An 8mm Hyperion wide-field eyepiece all but outweighs the actual telescope, giving the setup the characteristics of a cudgel (the price imbalance is probably even greater)
Speaking of field of view, this is usually given as 1.5° for the Galileoscope. However, that is simply the value achieved with the standard eye piece and not a limitation of the telescope. A 40mm Ploessl yields a 3° FOV at 12x magnification. For the fun of it I tried adding a 0.5 focal reducer. At this point a limitation at about 5° became apparent but this is to be expected from the limited size of the pupil (minimum usable magnification). It would be interesting to connect a large chip camera at prime focus to determine the limiting FOV.
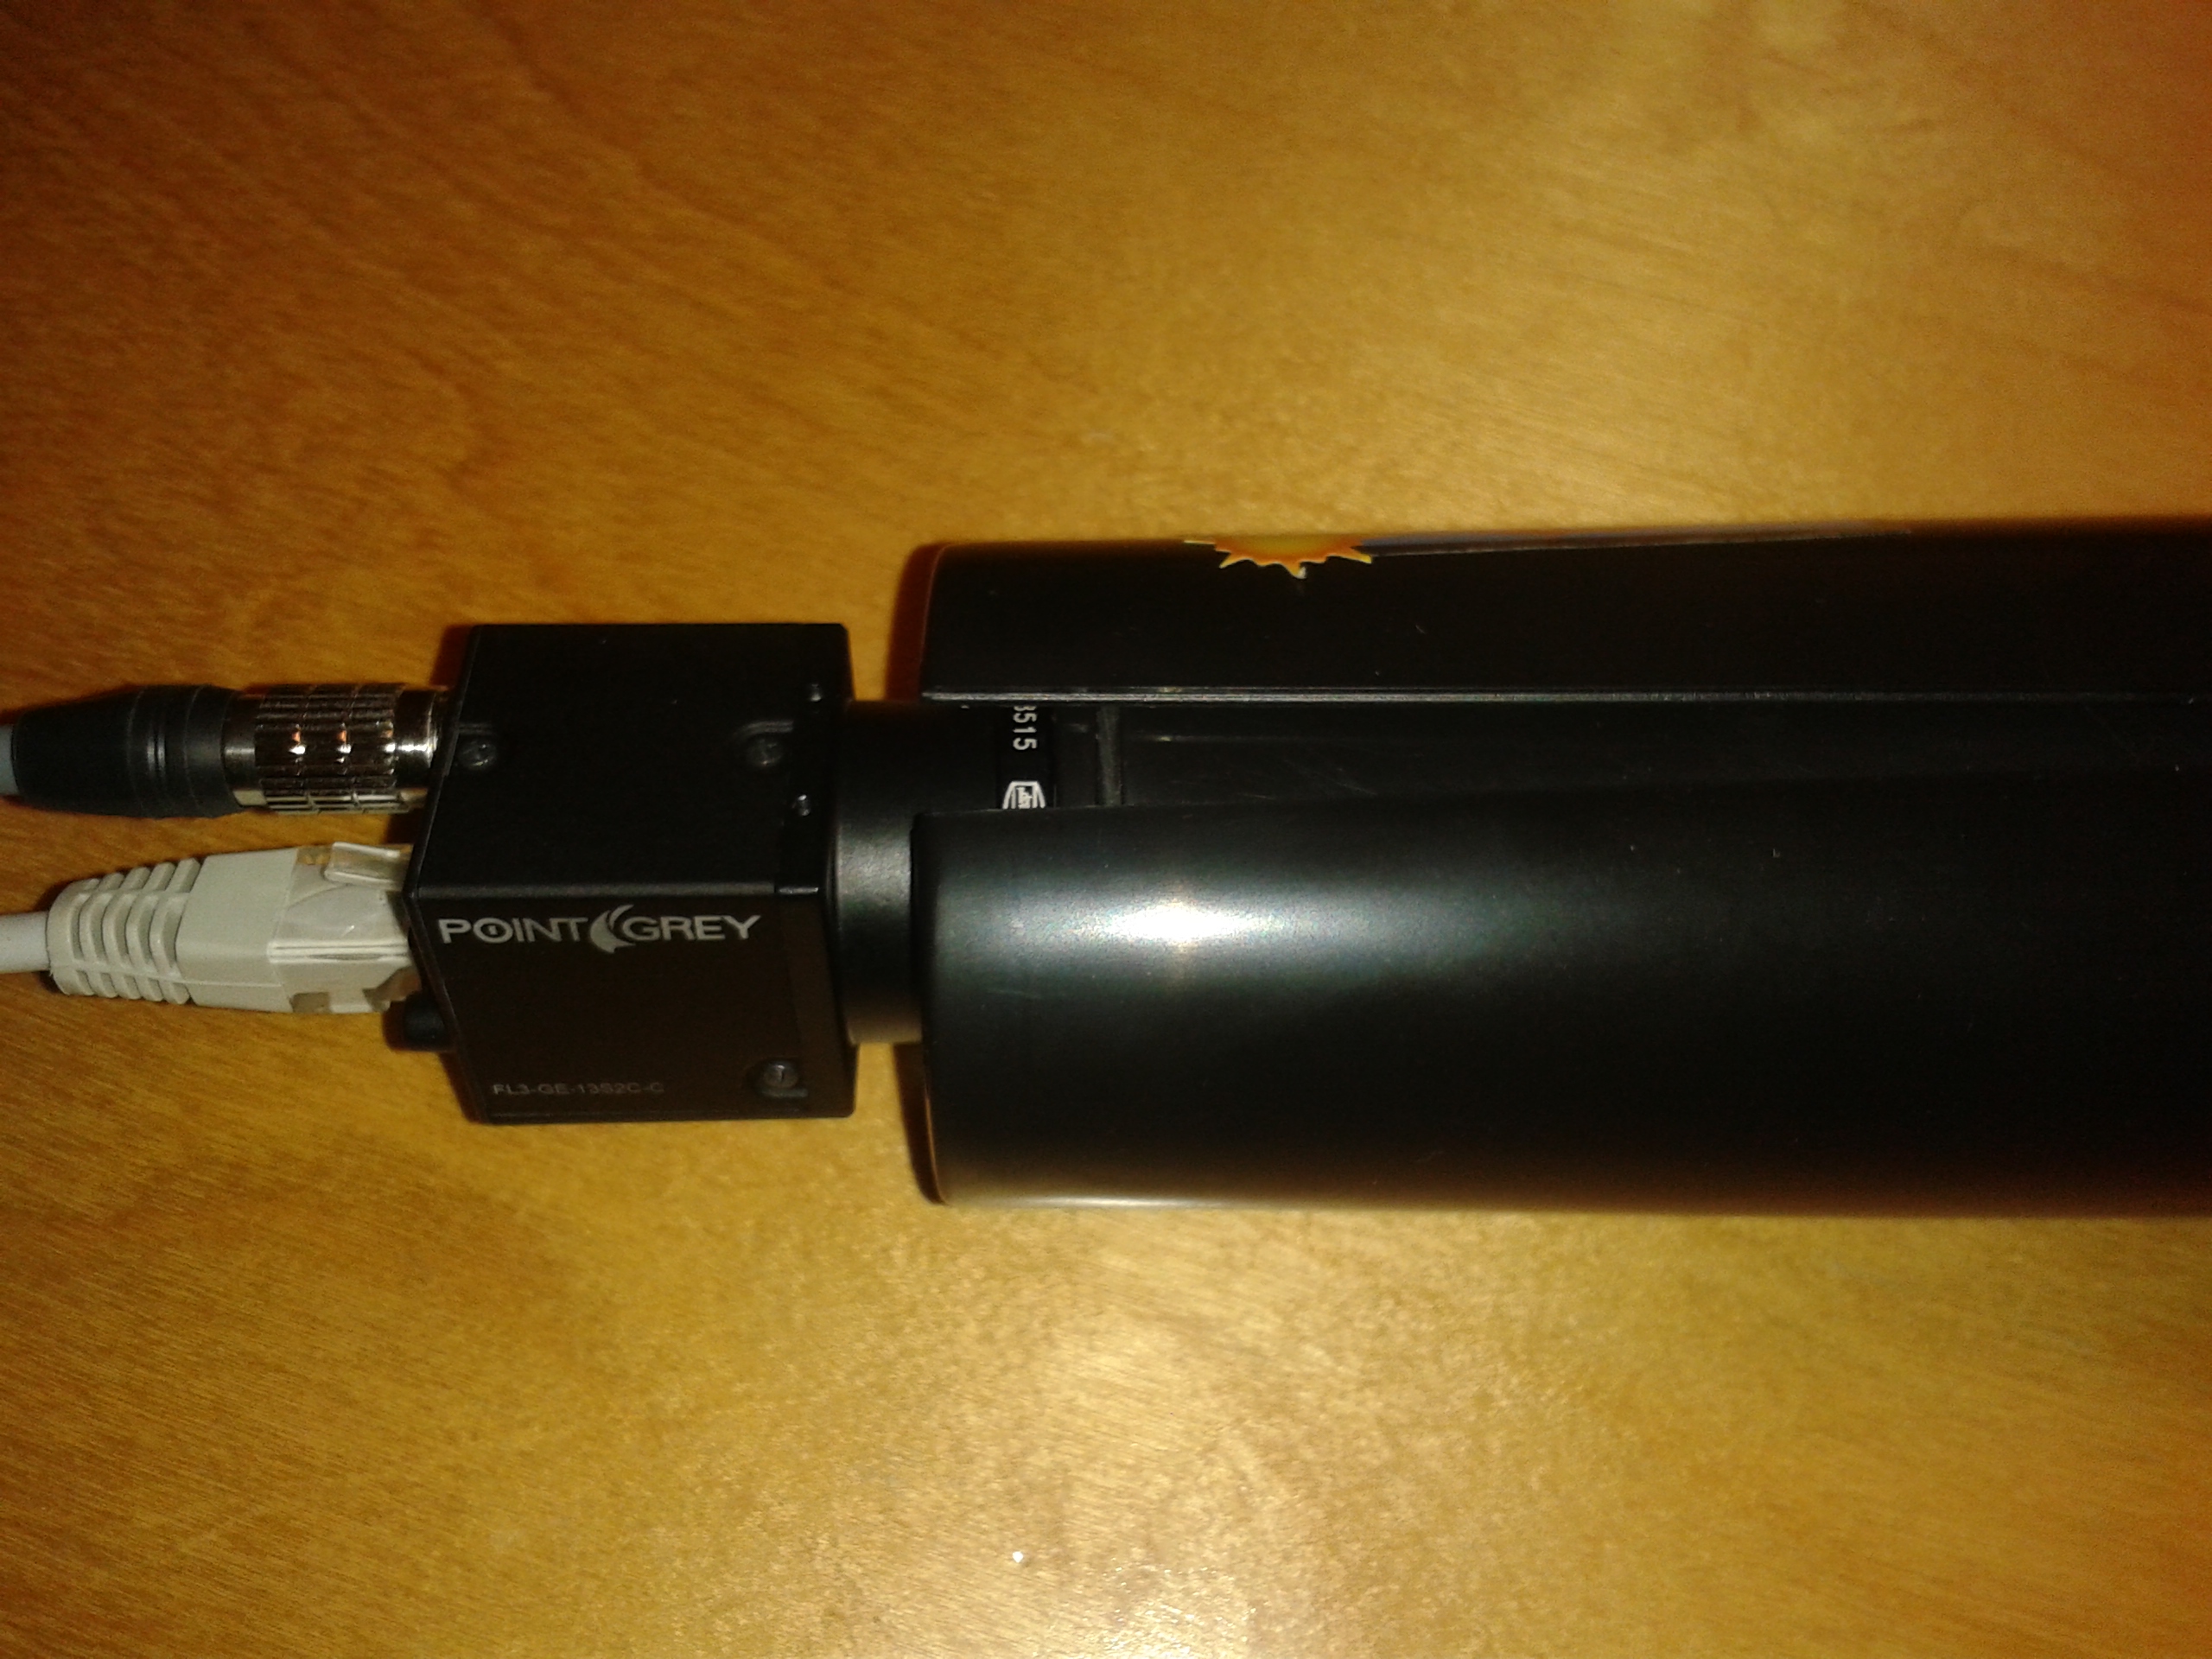
However, what I have is a very small chip Flea3 camera and at this point I’m just itching to try the scope with it. At first it may seem silly to make photos with a cheap 50mm scope when you have a 200mm (8″) scope, but actually there can be benefits
- 4 x larger field of view even for the tiny chip, possibly just enough for full moon
- For extended objects, light intensity per pixel is not reduced compared to a larger scope (both are f/10). In fact it might be slighlty better as the refractor does not have the obstruction of the secondary mirror
- The reduced pixel scale allows for longer unguided exposures
However, this will have to wait until I manage to connect the scope onto my Celestron. A Celestron piggy-back camera adapter is already on its way, if this is successful I will most certainly post the results here – watch this space!


")

")